Steps to Remove Duplicate Contacts from VCF File
Remove duplicate contacts from vCard files using the MacUncle vCard Duplicate Remover. Check out the provided image to work on dedupe the vCard contact files.

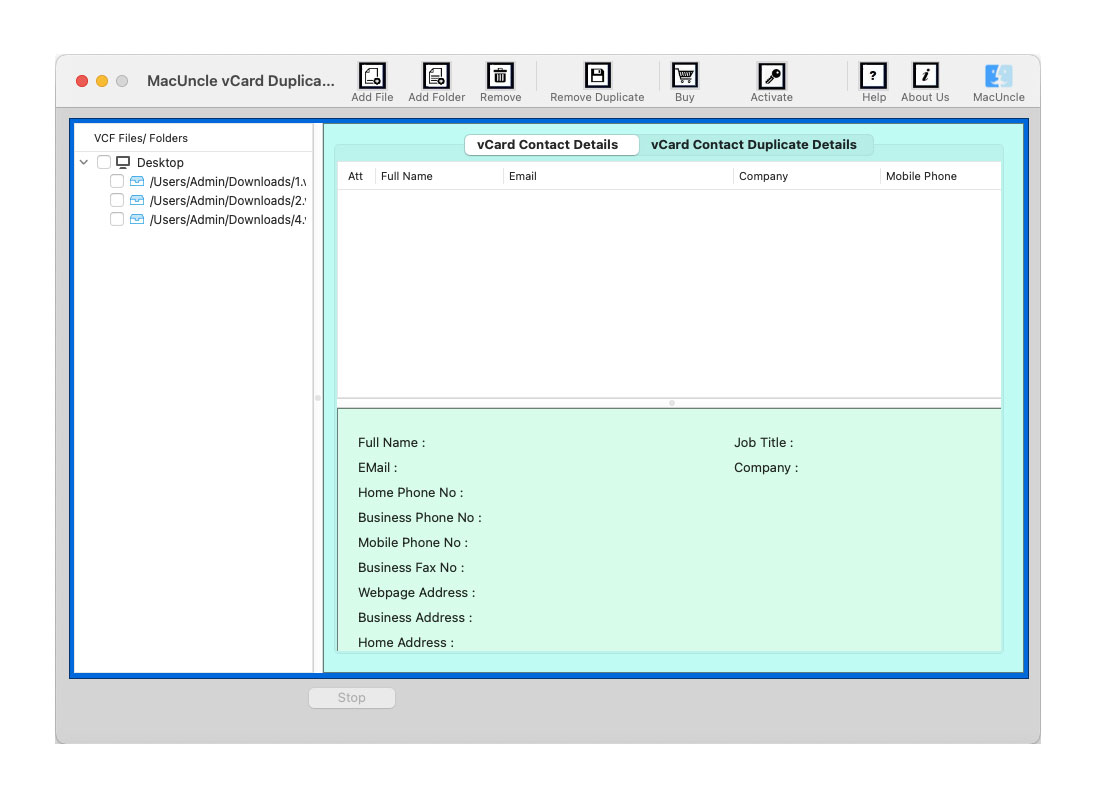
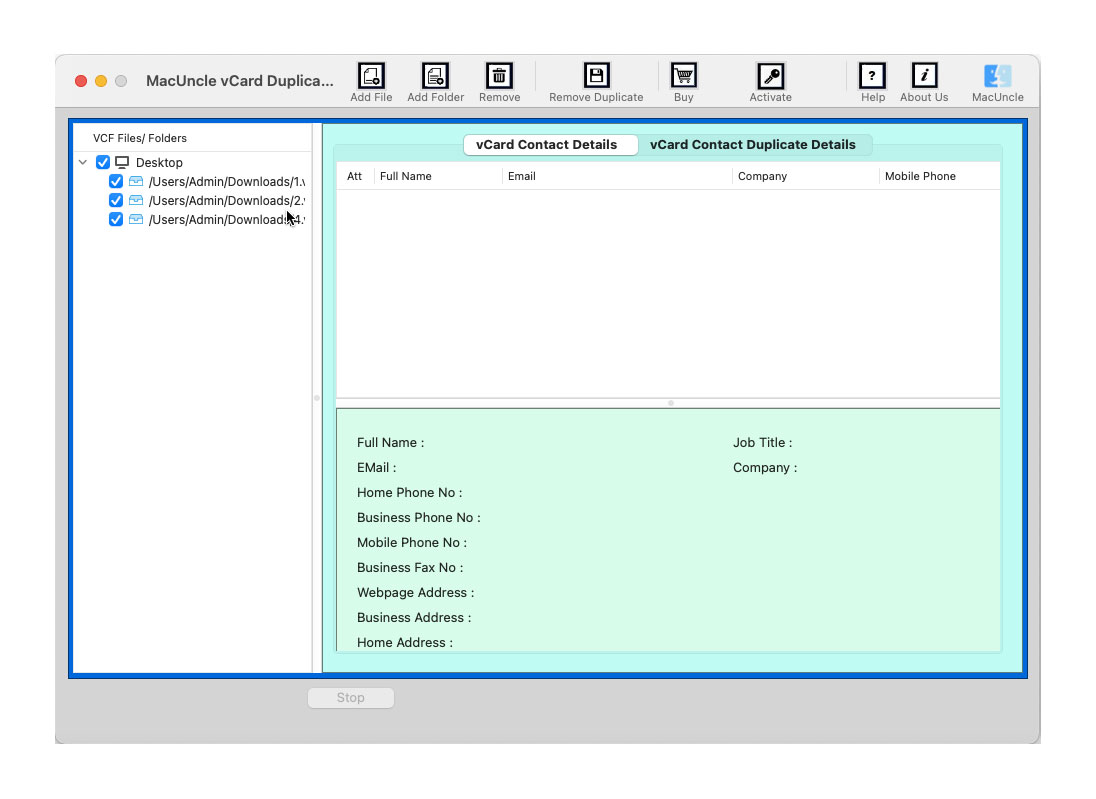
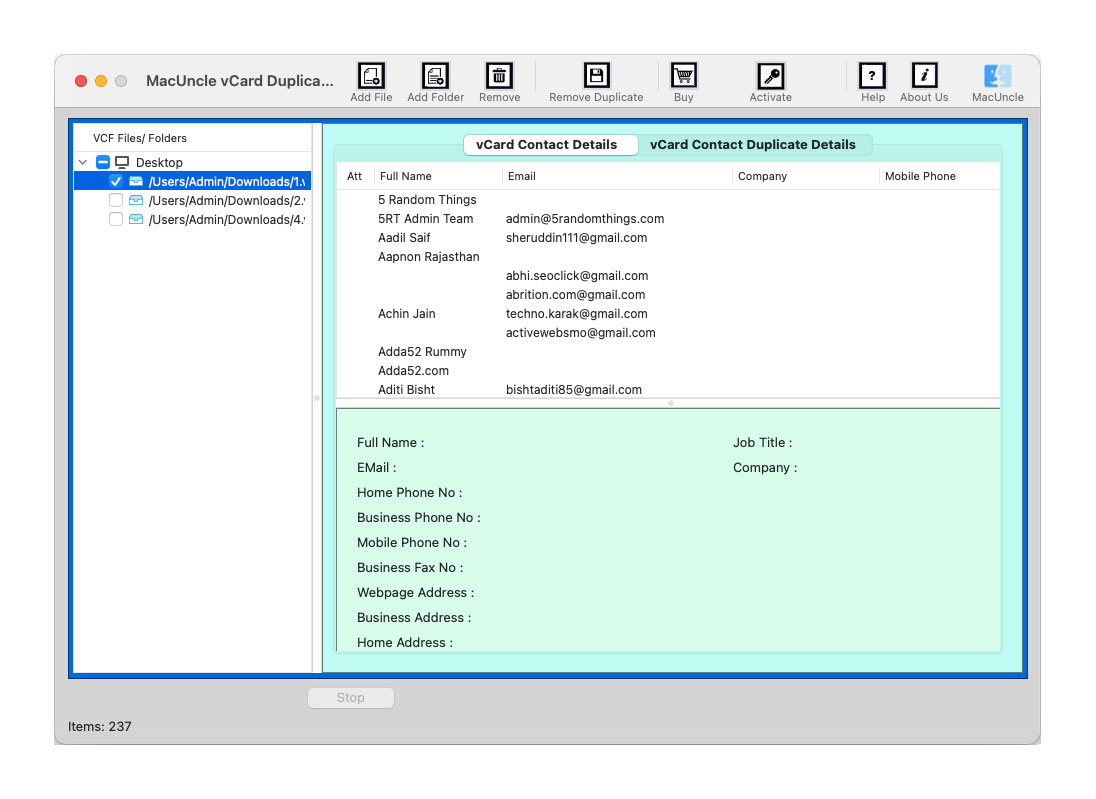
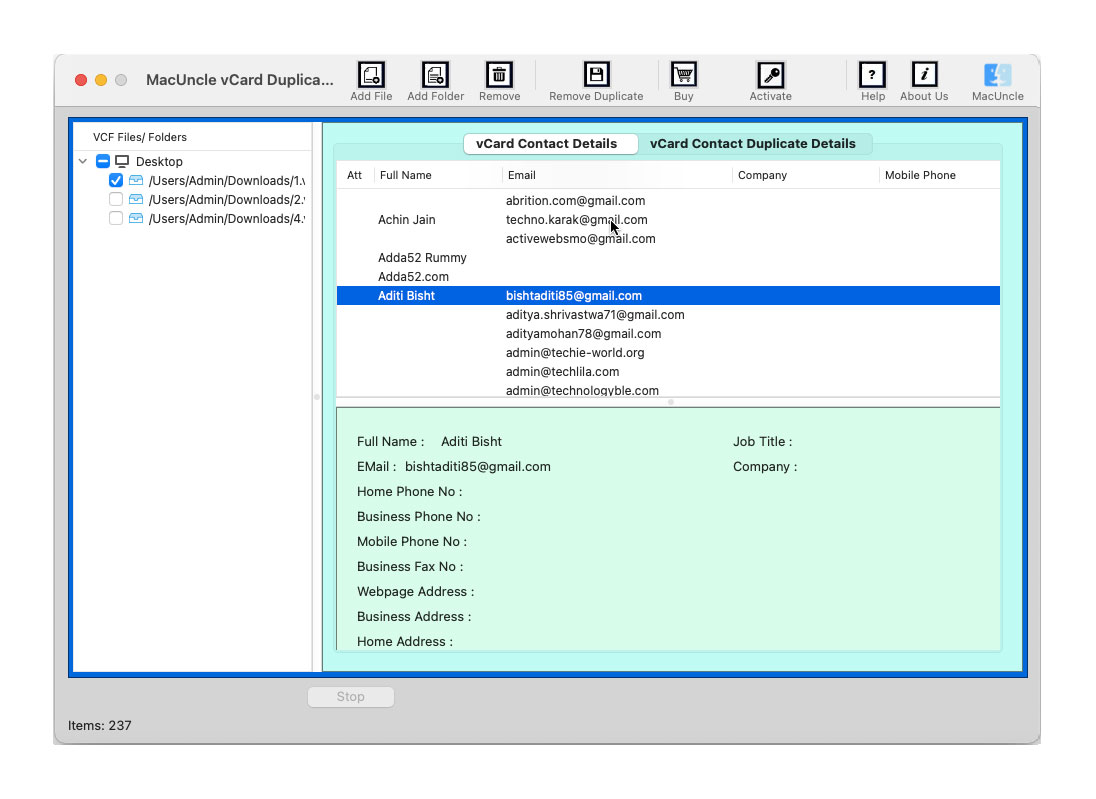
Add vCard files or folders to the software pane using the two different Add buttons in the above menu.
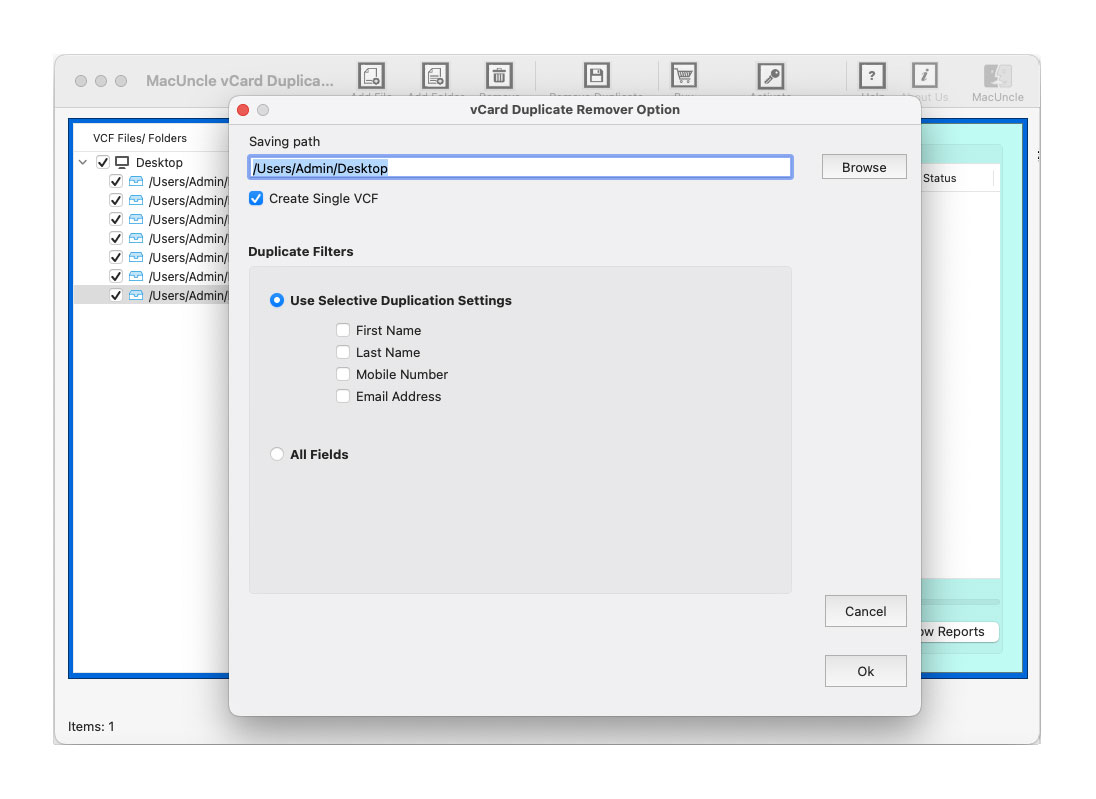
To remove duplicate click the Remove Duplicate button. A new tab with the option to select a location pops up. Use the browse button to select the destination location.

Then, set the remove filter to remove only the particular category of information from the vCard file.

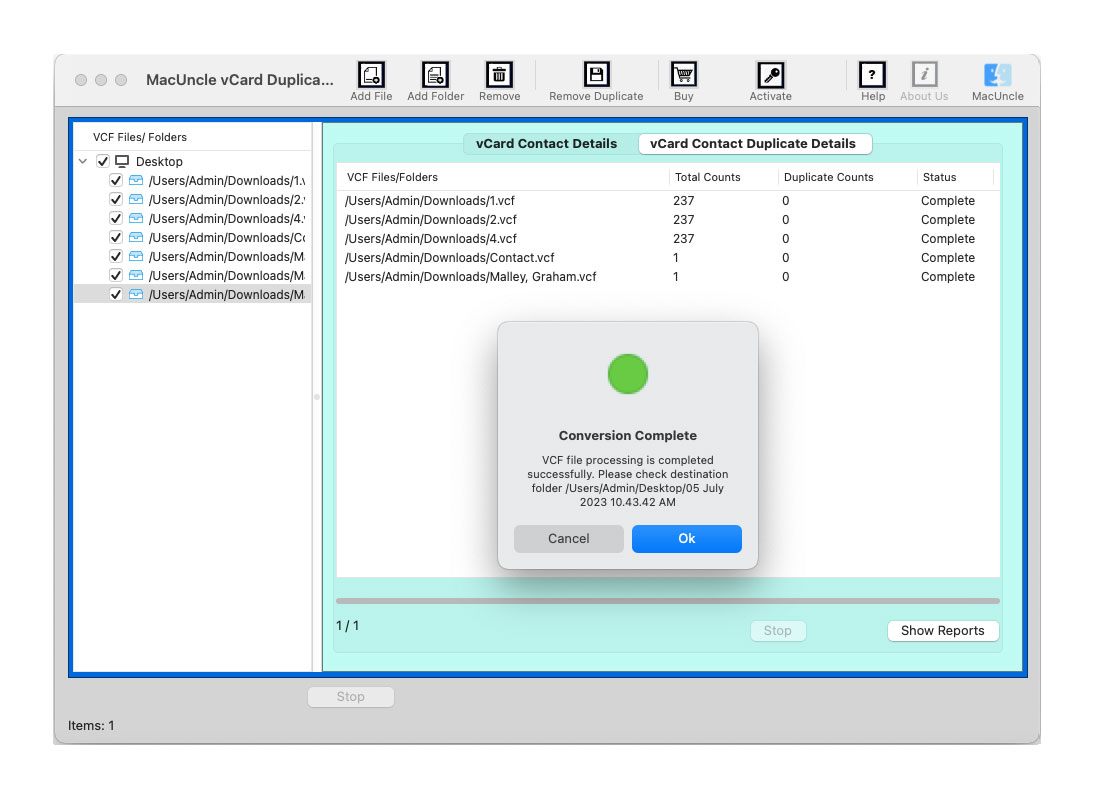
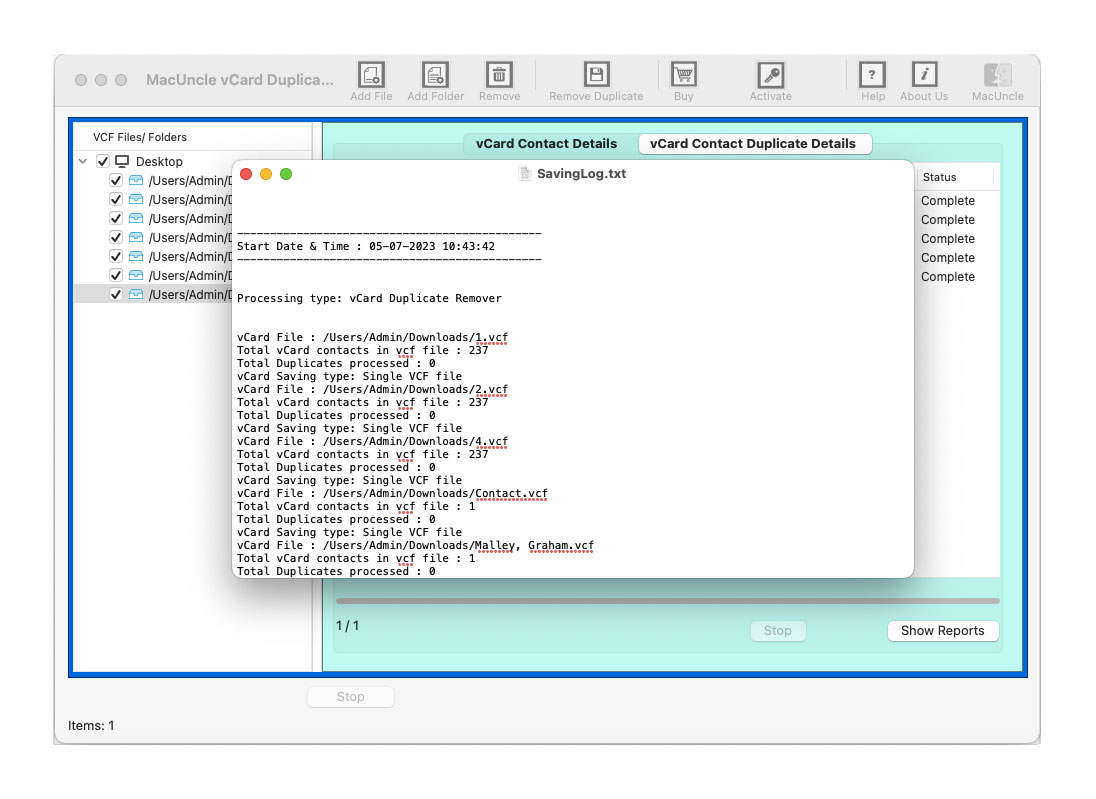
In a few Clicks, the tool will complete the process and displays the process completion method on the screen.