Easy Methods to Transfer Outlook Files From Mac to Windows


Distinctions Between Outlook for Mac & Windows
With a progression of using Mac Outlook for many years, users tend to generate OLM files on their local PCs. Quite different from the PST format (Personal Storage Table), which happens to be a Windows Outlook data file that consists of a set of email messages, contacts, notes, journals, etc., OLM files often contain POP3, appointments, & IMAP, etc.
- So, Windows Outlook forms PST files, while Mac Outlook forms OLM files.
- Though Microsoft does not present any such particular software for importing emails from Mac Outlook to Windows Outlook, you may still face the need of doing so, else you won’t be able to restore your old data.
Reasons to Export Email from Outlook Mac to Windows
Moving forward, here are some reasons to export email from Outlook Mac to Windows:
- You may be having multiple computer updates and/or versions.
- You might be working simultaneously on more than one computer system.
- Sometimes, change of company encourages one to do such a migration.
- Using different computers for checking emails also brings about this need.
Manually Transfer Outlook Files from Mac to Windows
This is a temporary short-term solution to export email from Outlook Mac to Windows. You must have knowledge about this particular method. Being aware is being smart these days! The steps that are mentioned below could be used for transferring data from OLM files to PST format.
Here’s how to transfer Outlook data from Mac to Windows:
#1 Step: Initiate by Moving OLM Files from Mac Outlook
- First & foremost, you must start by logging in to Mac for Outlook.
- After logging in, you now need to select File from the menu bar.
- Further to this step, next you have to scroll down to find the Export option.
- Next you see is a dialogue box, which comes on your screen after selecting this Export option.
- The next step is to pick every required option, & then press the right arrow.
- If you are wishing to keep the transferred Outlook Mac items after doing the archive process, then you must enable the option of “No, do not delete items”.
- After performing this step, next you have to save the archive.olm file with a name of your choice in the Export to Archive File (.olm) dialogue box.
- When you are here, you now need to specify a location for saving these mail messages.
- For the purpose of saving data, you now need to tick the Save tab.
- And finally, you can click the Finish tab once the data has been moved.
#3 Step: Integrate Gmail with Outlook for Mac
- Here, you have to start by opening Outlook Mac.
- Once opened, you now have to select the Preferences button.
- The following step is to select the Accounts option. This could be done from the preferences window’s personal settings section.
- Once you are through with this, now click the plus (+) sign in the section that is below from the left-side corner.
- Go on now by choosing the required email from the drop-down menu.
- After this step, you now need to click on Your Gmail Account Detail, & thereafter, Add an Account.
#3 Step: Transfer OLM Files to Gmail (Google Mail Account)
- Your first step is to right-click the Gmail that has just been added in your Gmail account & then choose New Folder.
- Go on after typing the folder name, and select File >> Import.
- Once done with this, now move ahead by right-clicking the items in the selected folder & then selecting Move >> Select Folder.
- Further to this step, you need to now search the Gmail folder.
- Here, choose Copy now.
- Eventually, the info from your OLM file would get added to this new Gmail folder.
#4 Step: Add Same Gmail Account to Outlook for Windows
- Start this step by opening Outlook Windows.
- Now, set up the same Gmail account that you had configured in Mac Outlook.
- Users will now be able to view Outlook Mac files in Windows Outlook once your Gmail account finally set up with Windows Outlook.
- You can now move your files from Mac Outlook to Windows using a USB flash drive, and your purpose will be finally solved.
Expert-Recommended Solution to Transfer Outlook Files from Mac
MacUncle OLM Converter is a very comfortable-to-operate tool to export email from Outlook Mac to Windows with nothing left behind; everything could be easily moved like messages, contacts, notes, tasks, journals etc from Outlook Mac to Windows.
Benefits & Features of Pro Solution
The benefits are bountiful; take a look:
- The bonus sets in with comprehensive conversion where you can move all your contacts, messages, calendars, etc. from OLM to PST.
- The privilege to preview all the loaded email data is a great plus.
- Able to work with every edition of Outlook, Windows OS, and Mac OS.
- It is possible to convert Mac OLM files in PST format and many other formats.
- There are many advanced features for conversion here.
Steps of the Simple Process
Here are the easy steps that instruct you how to transfer Outlook data from Mac to Windows:
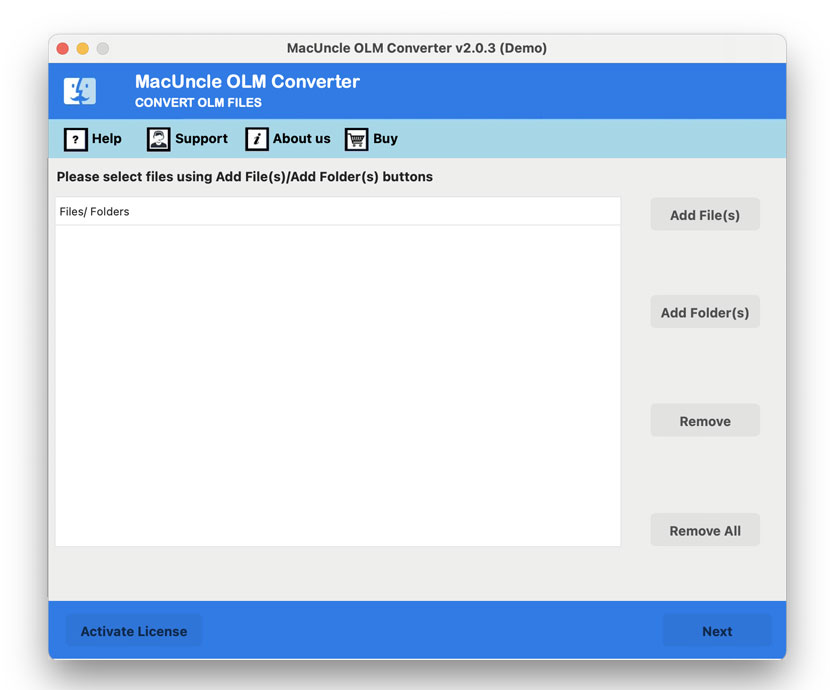
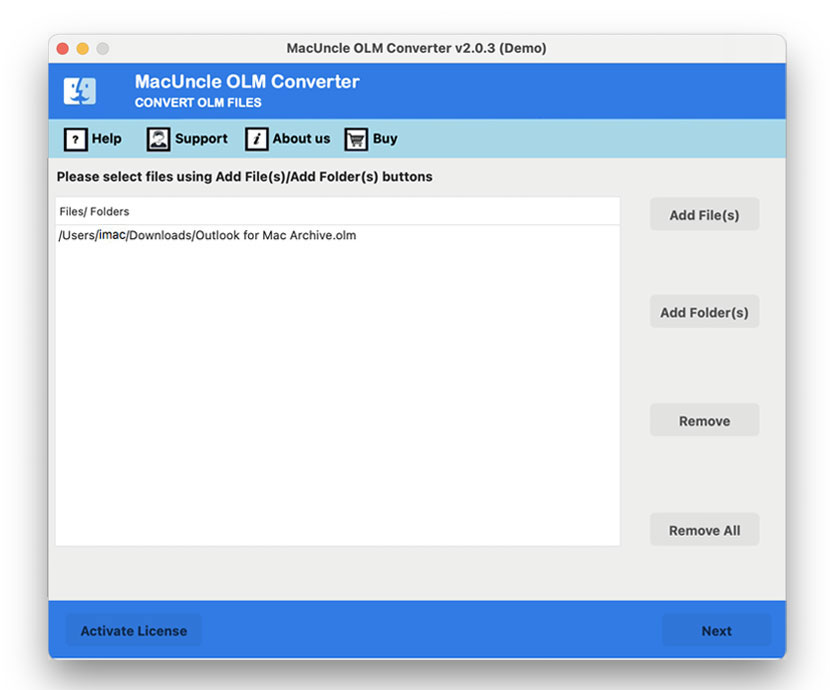
- Start the tool and upload Mac Outlook files by using the Add button.

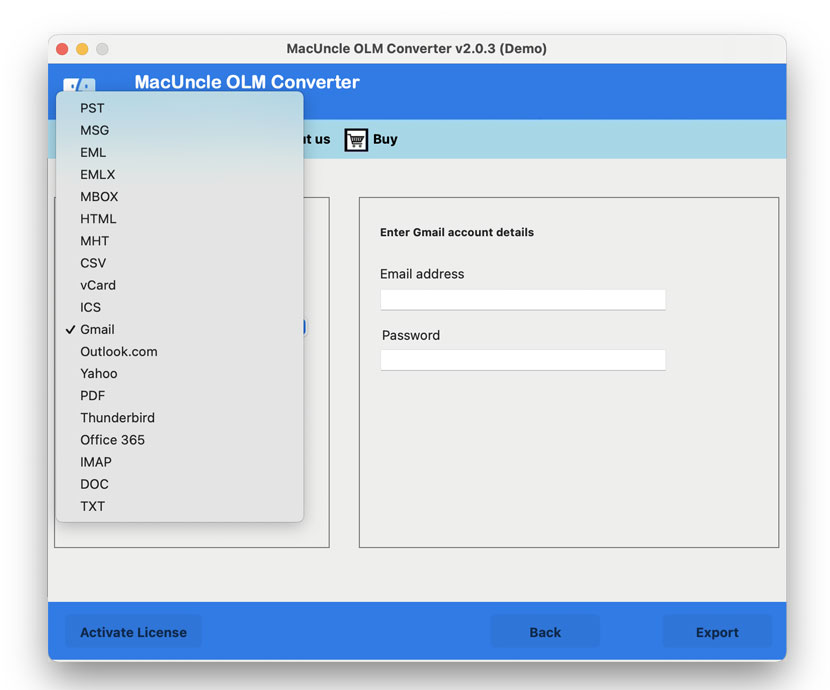
- Select a relevant saving option (PST in this case) for Windows Outlook by choosing from the list.
- Then, set a destination location by browsing it to save the converted files.
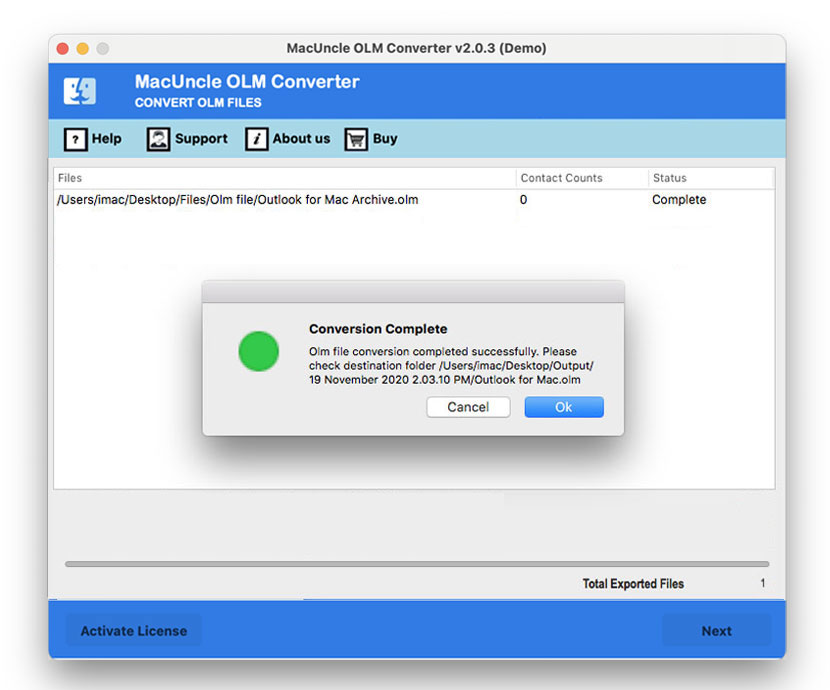
- Press the Export button now to begin the conversion process.
Let’s Draw the Conclusion
This blog helped you learn how to transfer Outlook files from Mac to Windows in the easiest way possible. Various ways described here suggested you to migrate your emails from Mac Outlook OLM to Windows Outlook PST quickly and safely. The professional tool definitely has an edge over the insufficient manual operation that is prone to errors and uncertainties.