How to Export Office 365 Mailbox to PST?


With Microsoft Office 365, users can access their mailboxes anytime on any device. This is because of its multiple advanced and unique features which make it stand apart from other enterprise-level applications. This article is focused on how to export Office 365 mailbox to PST on Mac OS, as O365 does not provide any backup option.
Here we will discuss two different methods to Export Office 365 Emails to PST file format.
Table of Content
Export Office 365 Mailbox to PST using the eDiscovery
Since we don’t have any direct option to export Office 365 to PST, using the eDiscovery would be the best option. Considering it is one of the basic free manual approaches provided by O365, users must follow the steps carefully.
- Log in to your online Microsoft account using Microsoft 365 Admin Centre.
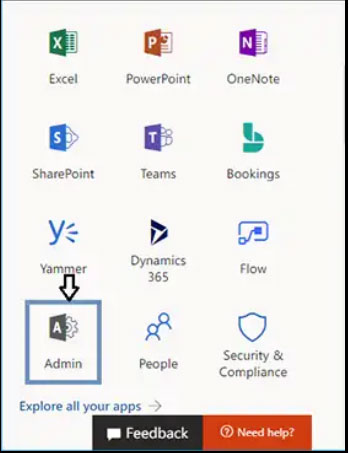
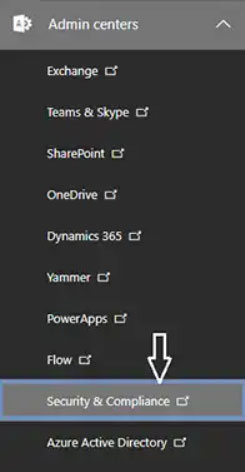
- Now, navigate to the Security in the Admin Center.

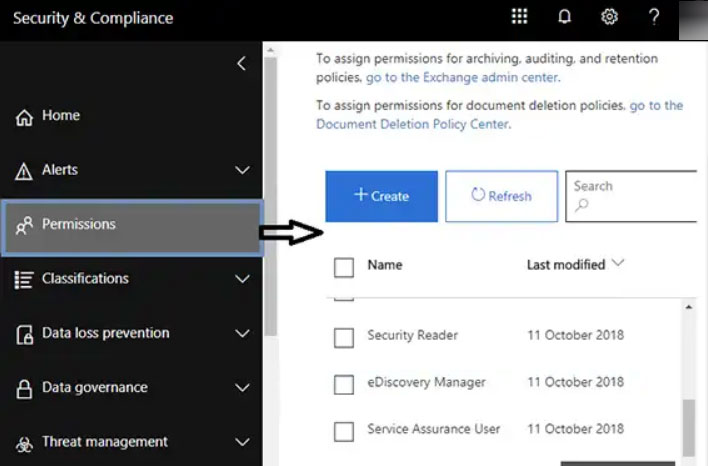
- Go to Permissions and Select eDiscovery Manager from the options.

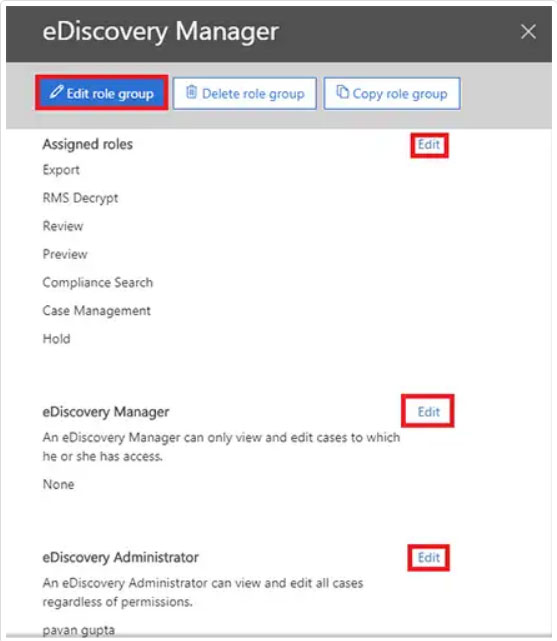
- Click on the Edit button for the eDiscovery Administrator.

- Now, select the eDiscovery Administrator and press the Save button.
Use Content Search to Export Mailboxes from Microsoft 365
Now we must create a Content Search to get all the emails. Thus, we can easily export Office 365 Mailbox to PST via the eDiscovery method.
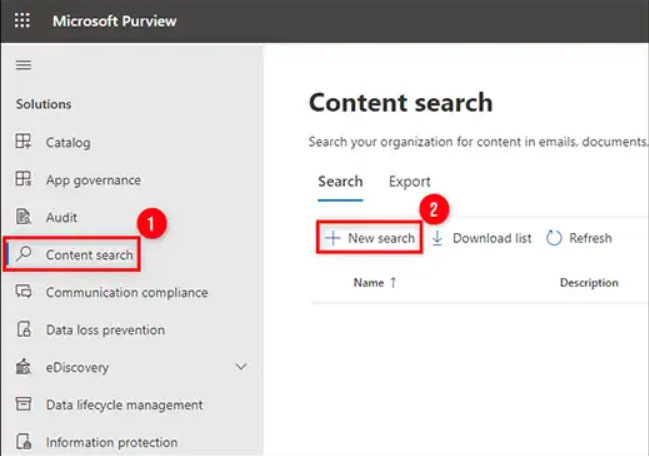
- Firstly, navigate to the Search Option in Office 365 Security and Compliance. Click on the content search option from the menu.

- Then create a new search using the New Search button.
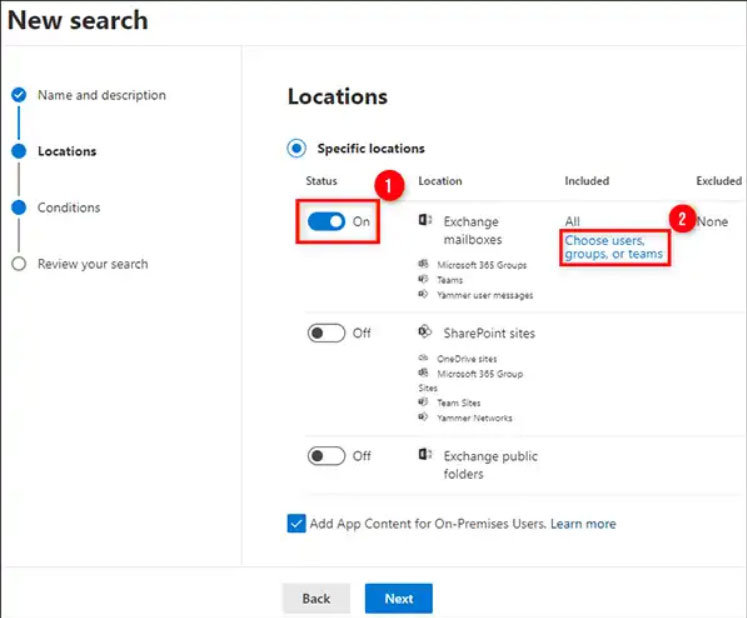
- Enter your Name and description in the New Search and press the Next button.
- From the location option user can choose the mailbox data from Office 365.

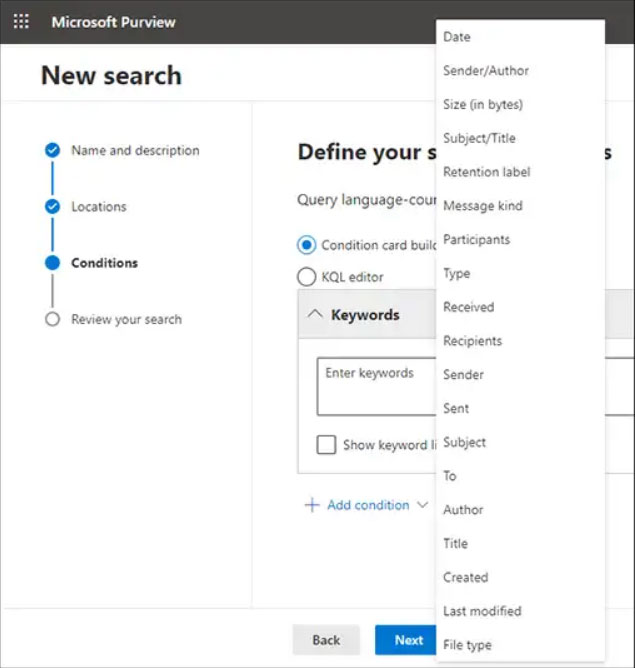
- In the Next step, Set up certain filters using the Conditions
- After setting up all the filters press the Submit button.

- Now close the current tab by pressing the Done button.
- Click on the File, press the Action button and click on the Export button.
- Choose any option from the list as shown in the figure below. If you want to export the encrypted files too, then select the option that says includes encrypted files. Then, click on the Export button.

- Now, click on the Export option in the menu, and check whether the status is complete or not.
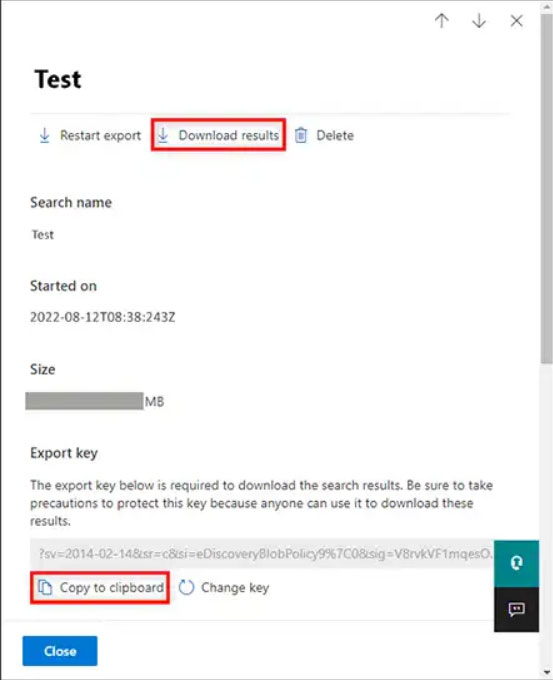
- Once the process is completed, click on the “Download Result”.
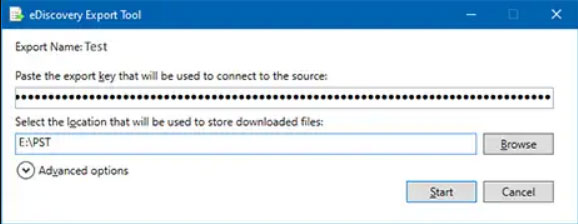
- From below copy the unique key as it is needed to connect the source.

- Now, the eDiscovery Export tool will start eventually, and the Export key will be entered from the above step.

- To store the resultant PST, browse any option location as needed.

Limitations:
- The steps clearly show that it takes time to complete the procedure.
- We need to carefully execute the steps without missing a step.
- There is no option to export selective mailboxes from the O365 account.
With PowerShell Export Mailboxes from Office 365 to PST
Before discussing the method, the vital point is that there is no direct command to export PST files from Office 365 using PowerShell. Follow the steps below with the PowerShell script:
Step 1: Steps to Connect MS Exchange Server via PowerShell
- Use the below cmdlet and enter the credentials of your Office 365 account.
$UserCredential = Get-Credential
- To continue run the below common.
“$Session = New-PSSession -ConfigurationName Microsoft.Exchange -ConnectionUri https://outlook.office365.com/powershell-liveid/ -Credential $UserCredential -Authentication Basic –AllowRedirection”.
- Further, enter the below common
“Import-PSSession $Session”
Step 2: Grant Permission to Access Mailbox with PowerShell.
For instance, it is like providing permission to support@macunclesoft.com(source account) to the admin@macuncle.com mailbox.
“Add-MailboxPermission – User submit@macunclesoft.com -Identity support@macunclesoft.com -AccessRights FullAccess -InheritanceType All”.
Step 3: Create a New Account with Outlook
Open a new account and ensure that the source account is available in the left panel of the account.
Step 4: How to Check the Configuration settings,
Check whether it is ready to configure using the below steps.
- Click on the File from the menu. Select the info page & the account settings.
- Select the account setting and click on the account.
- Press Change and enable the “Use Cached Exchange Mode”.
Step 5: Export the Mailbox to PST with MS Outlook Import/Export Tool
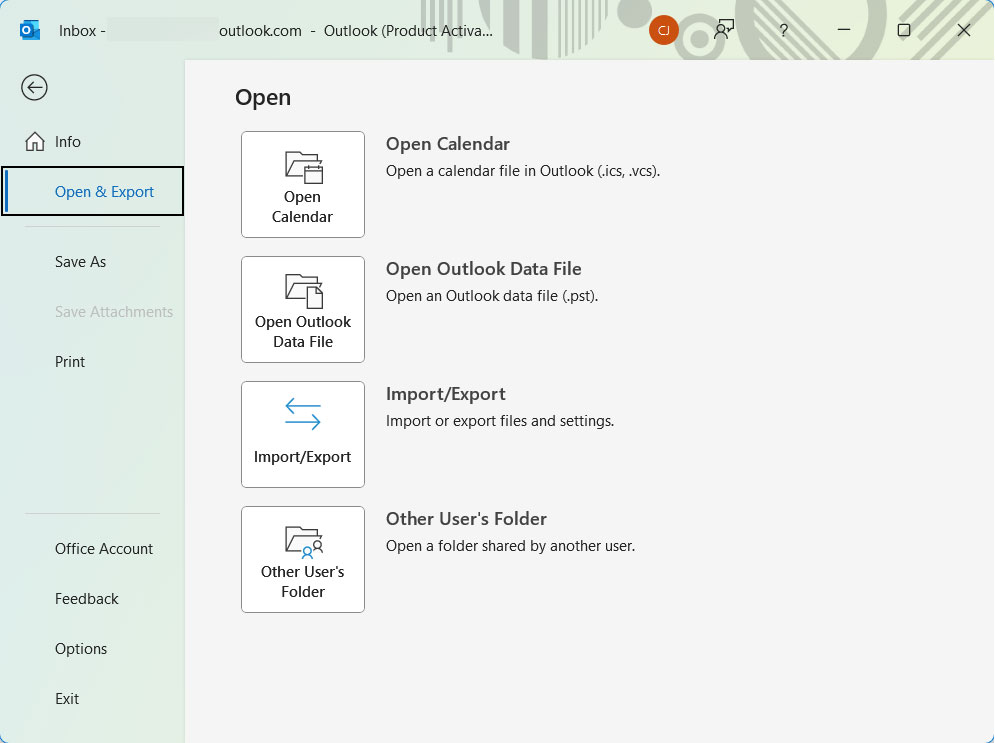
- Go to File>> Open & Export >>Import/Export button.

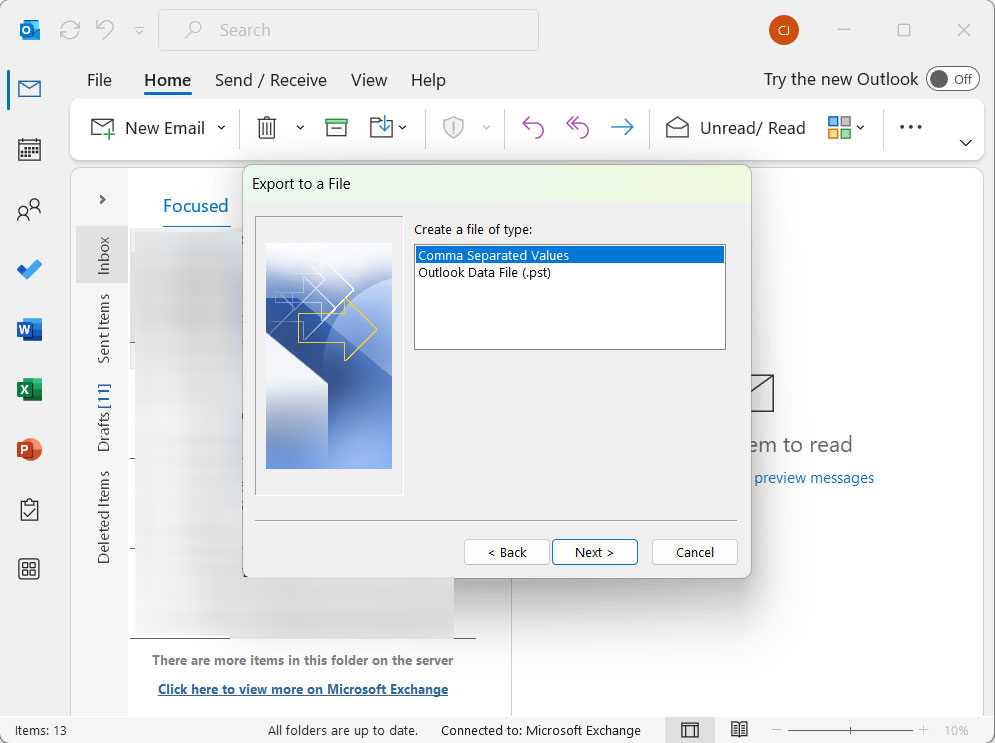
- Navigate to Export to a File and press the Next button.

- Then, select the Outlook Data File (.pst) from the option.

- Now select the source account along with the subfolder and press Next.
- Select a location to store the exported PST File and click the OK button.

Step 6: Ensure the Process is Done Successfully
After using the steps in the above section, users are advised to ensure that the export process is done successfully. To check whether any data is missing after the procedure, check the file size on the server and the exported PST file size.
- Go to the mailbox and right-click & select Properties.
- In the General Tab, click on the Folder Size button.
- Then, select the Server Data tab and note the value mentioned.
- Similarly, check the properties of the exported PST file and compare the size. If the size matches, the process is done successfully.
Step 7: Remove all the Permission using the PowerShell cmdlet
Enter the below command to remove all the permissions assigned via PowerShell.
“Remove-MailboxPermission -User submit@macunclesoft.com -Identity support@macunclesoft.com -AccessRights FullAccess”
Step 8: End the PowerShell Session
After completing the process to export Office 365 Mailbox to PST, use the below command to exit the PowerShell.
“Remove-PSSession $Session”
Expertise Method to Export Office 365 Mailbox to PST Format
Users often raise concerns about the above-mentioned manual methods. Considering the growing needs of the user, the Office 365 Backup Tool for Mac is a complete remedy to perform the export from Office 365 account to PST format quickly without facing any technical or non-technical problems.
It is designed keeping in mind the various restrictions that are imposed in the manual methods. This tool does not compromise the integrity of the data throughout the process. Moreover, a user can run this software on all the latest versions of the Mac operating system above Mac OS X 10.8.
Also, Read:
Export Office 365 contacts, calendar, etc., to CSV on Mac OS.
Get the Solution for Office 365 to Zoho Mail Migration
Step-by-Step Instruction to Use the Software
Here is the procedure to use the tool to export Office 365 Mailbox to PST on Mac. Install the tool, and carry out the following steps:
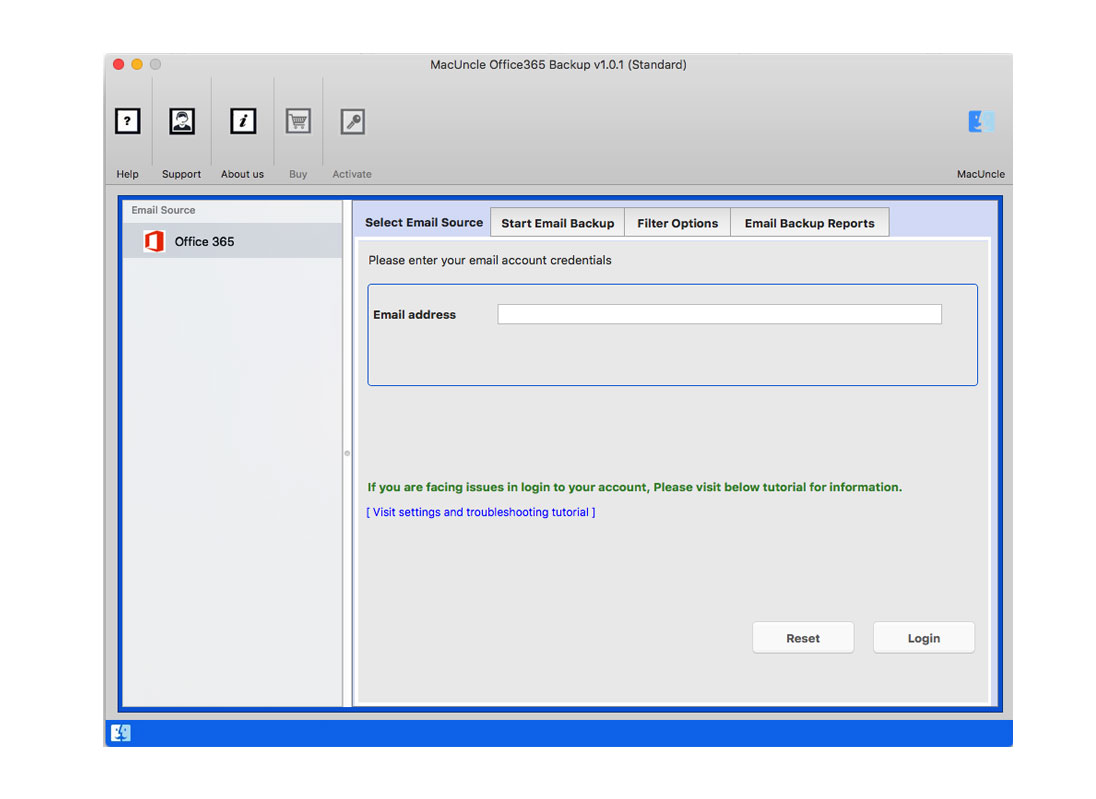
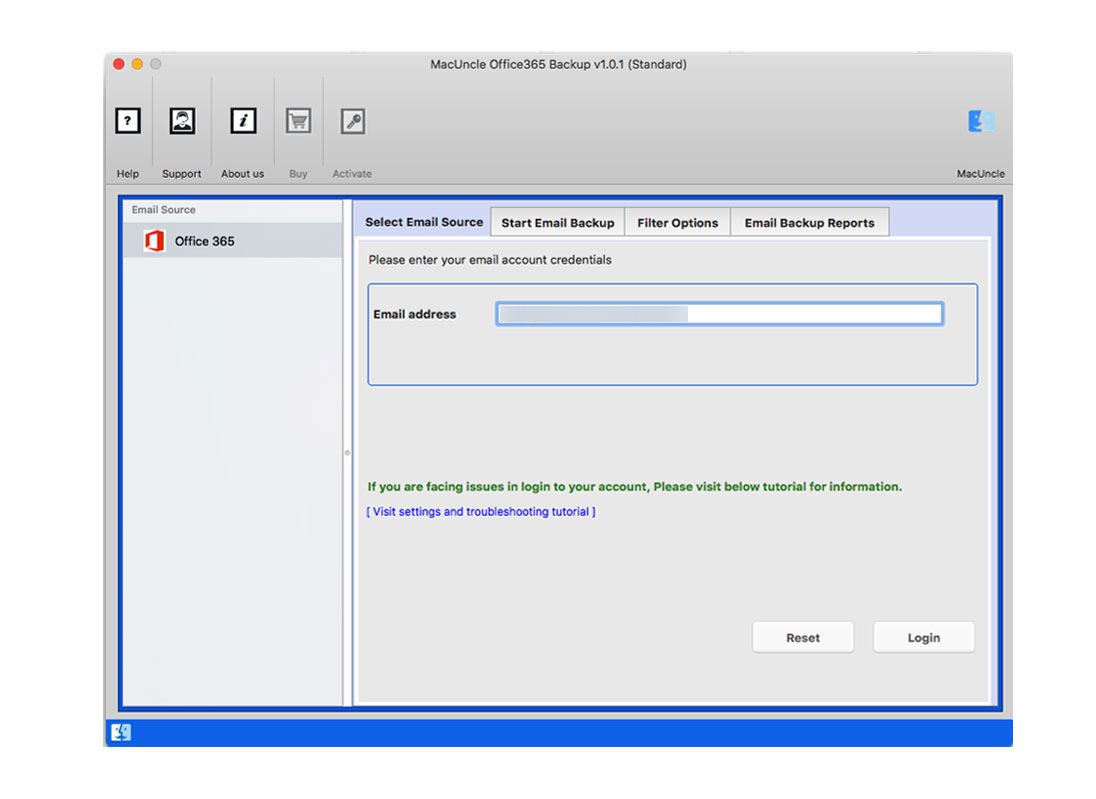
- Launch the software on a device of your choice.

- Select Office 365 and enter the Office 365 credentials on the software panel. Press the log-in button to proceed.
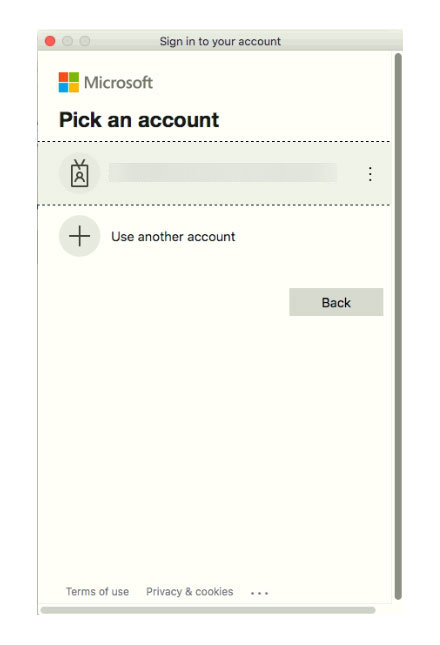
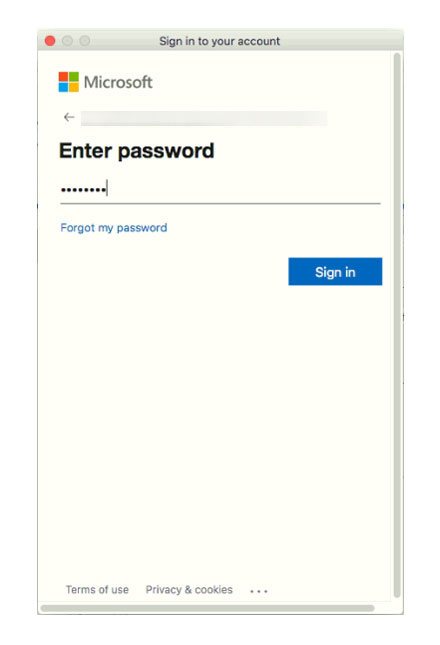
- You will be navigated to the Microsoft site, there again enter the account details.

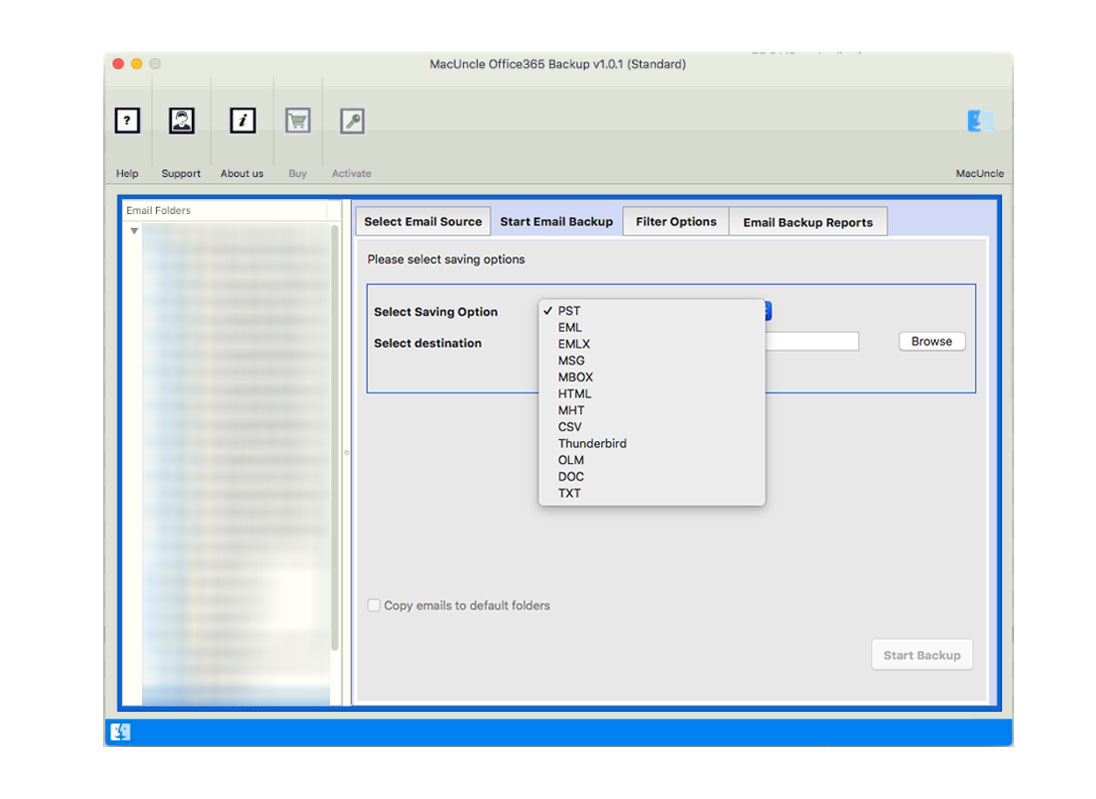
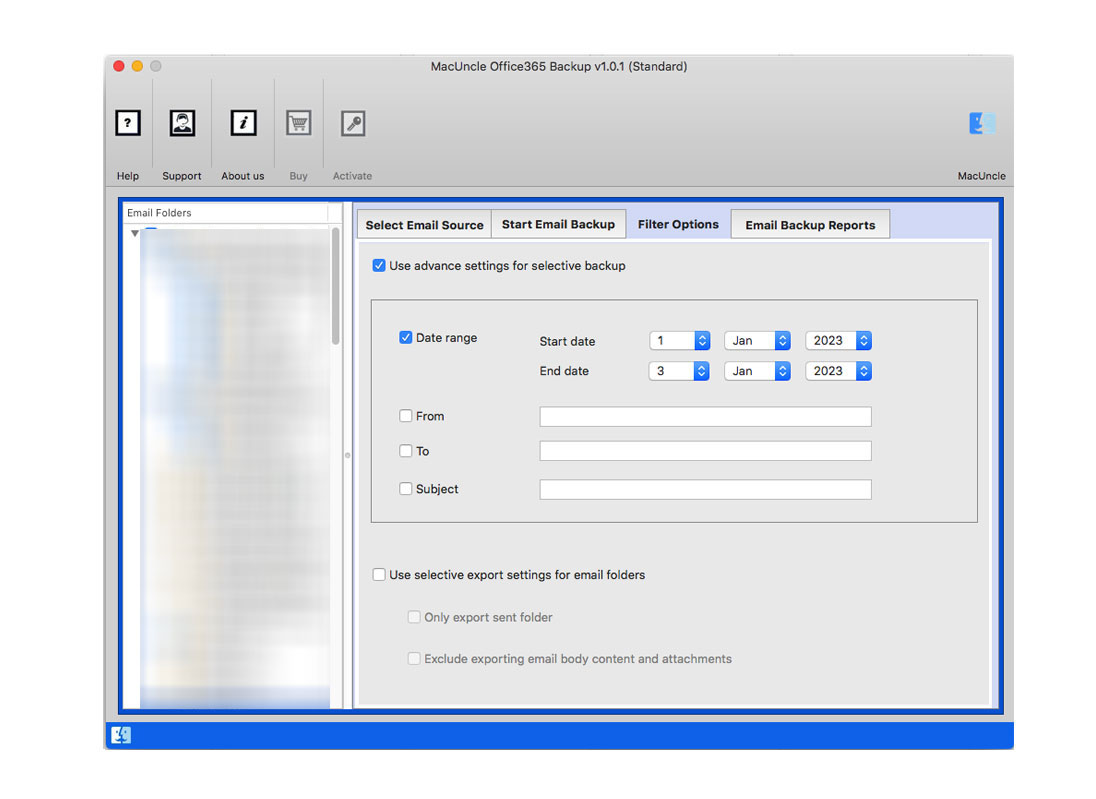
- As shown in the figure, choose the desired folder to export and select the required format to export mailbox Office 365 to PST.
-
Filter Option to move emails only from a specific email address, Date Range, Subject, etc.
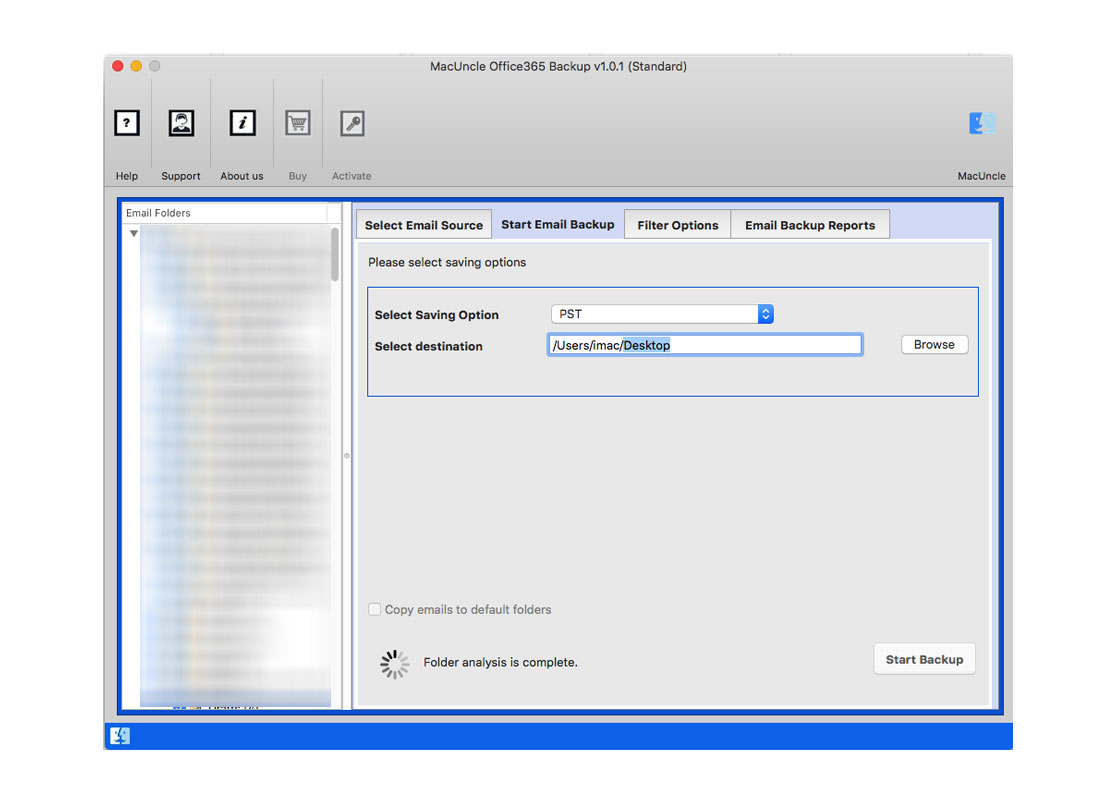
- Choose the destination path to store the resultant PST file from Office 365.
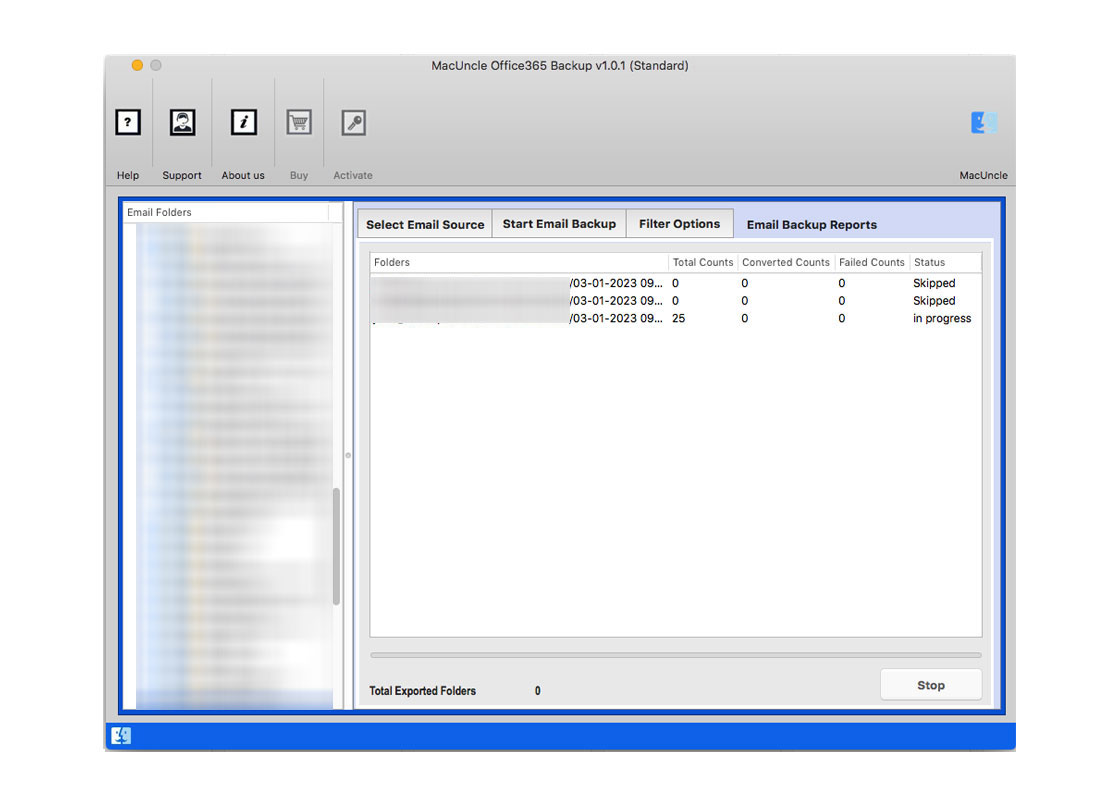
- Finally, press the Start Backup button to initiate the export of the mailbox from Microsoft 365 to PST locally on a Mac Machine.
Advantages of Using Automated Method
- The export process is done uniformly and offers a secure solution with a user-friendly UI.
- It allows several mailboxes from Microsoft 365 to export to PST.
- It does not consume much time and performs the procedure instantly.
- No technical expertise is needed to carry out the procedure.
- It can divide large PST files according to your needs.
- It can filter mailbox items by selective date or item type ranges.
Conclusion
After reading this article, users will be able to effortlessly export Office 365 mailboxes to PST on Mac. This tool allows one to suggest applications. With the help of the tool, one can execute the tasks and provide satisfactory results without any interruption. It allows you to get mail from MS Office 365 account.
FAQs
Q) Can I export all my mailbox data to a single PST file?
A) Yes. You can export all your mailbox data to a single PST file. However, very large PST files can become difficult to manage. With different methods, we can export the mailboxes to PST file format.
Q) How can I export specific folders to a PST file?
A) You can select the specific folders you want to export within the export process. This allows you to export only the data you need
Q) Can I import the exported PST file back into Outlook?
A) Yes, you can import the exported PST file back into Outlook or another compatible email client directly.