How to Import OLM to Exchange Server Directly ?


With the help of the write, you will be able to import OLM to Exchange Server. Regardless of the file type or size, move Mac Outlook data to Microsoft Exchange Server. Get both Manual and automated solutions from here.
Users are eager to know the best method out there. Therefore, we will be discussing the solution in the elementary format. There are dozens of solutions that you can find, so be wise and select the method that suits the situation you are in.
Here we will give different scenarios and the solution corresponding to the same. Find out the reason and the solution for the issues from here.
Reason to Move OLM Files into Exchange Server
The Exchange server is an email-based server for communication created by Microsoft. Exchange accounts, unlike POP3 email, contain integrated collaborative messaging tools that extend e-mail to include scheduling, contact management, folder sharing, and task management.
- The Exchange Server 2019 enables access to EAC – Exchange Admin Centre.
- The server incorporates 256GB of memory with 48 CPU cores.
- Performs dynamic memory cache allocation to enhance the memory usage of the server for active databases.
- It allows non-English characters in email addresses to be routed and sent natively.
Get the solution to migrate Outlook 2011 to Office 365 Mac.
Manual Method to Import OLM to Exchange Server
One can manually import the email files by converting OLM files. Follow each process carefully.
- Open the Outlook account on a Mac.
- Go to Tools>Account>Accounts Wizard.
- Press the + button, select the Email address, and enter the Email credentials.
- Choose the Incoming and Outgoing Servers, i.e., enter the Port number and press the Add account.
- A button will turn green if all the information is correct, and thus the connection will be successful.
Add Outlook Mac email folders to Gmail
Now import the OLM file to Gmail Accounts with the following steps,
- Start by right-clicking on the folder and then copying the same folder.
- Choose the location in your Gmail account.
- Further, the uploading status will be shown in the bottom corner.
- Configure the Gmail account in Outlook
- Open the application and go to File> Info>Account settings.
- A new tab will open up. Click on the New icon.
- Then, check the Additional server type or manually configure the server setting.
- Now, check for the Internet Email option.
- Enter the email address and password in the Internet Email option. Then, choose IMAP as the account type.
Enter the Server details as given below,
1) Incoming server: imap.gmail.com.
2) Outgoing server: smtp.gmail.com
Then, choose the settings option.
In the Outgoing server, select My Outgoing Server to require an additional Authentication option. Then, in the advanced tab enter 993 as the Incoming Port number.
- Choose SSL as an Encryption type.
- Further, enter 465 as the Outgoing Server Port.
- Press OK.
- Finally, choose Test account settings and click on the Finish button.
Now, transfer the emails from Gmail to Windows Outlook.
- Sign in to your Gmail account, go to the Settings option and click on See all Settings.
- Choose Forwarding and POP/IMAP options. Then, enable the IMAP option.
- Further, turn on Auto-Expunge as per the demand.
- As a final step, press Save Changes.
Now, you can access the Outlook Mac emails in the Exchange server.
From the steps above, it is clear that we need to follow the steps properly. However, the manual method does not offer an accurate result.
Import OLM to Exchange Server – Instant Solution
The method is most applicable if the requirement is instant. For quick migrations of OLM to Microsoft Exchange server 2016, 2019, etc. Download the software OLM Converter. The software is available for both Mac & Windows Operating systems. Use the mentioned steps to import OLM to the Exchange Server.
How to Import *.olm to Exchange Server Directly?
Procedure to Move the emails from Mac Outlook to Exchange Server:
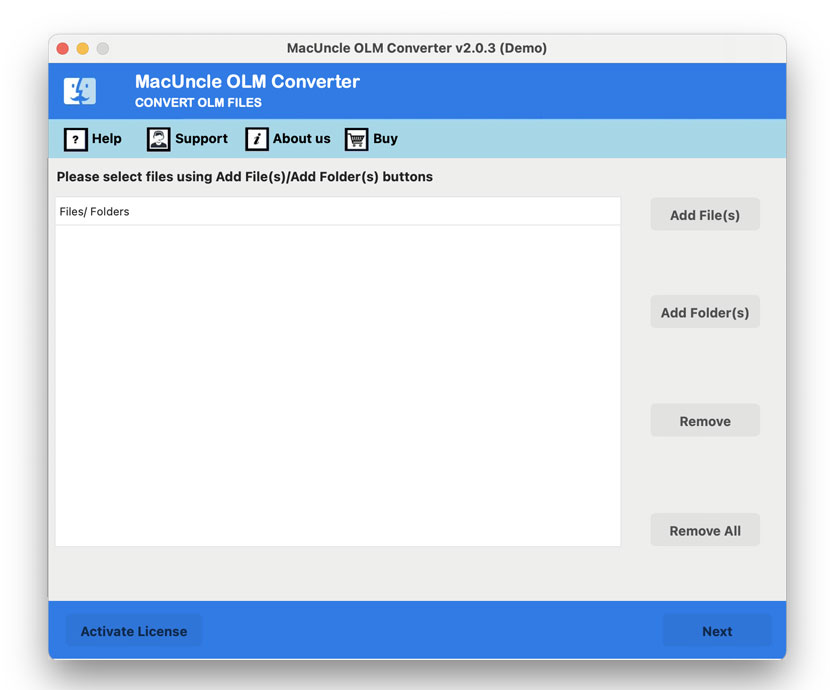
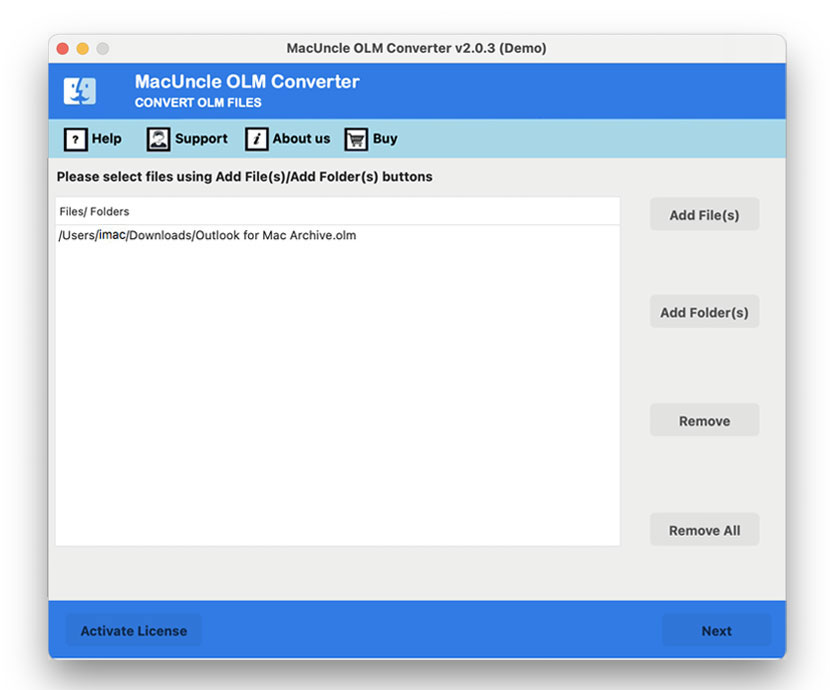
- Start the software and follow the steps.

- Add OLM files to the software interface using the Add button for Files(s) or Folder(s). Press the Next button at the bottom.
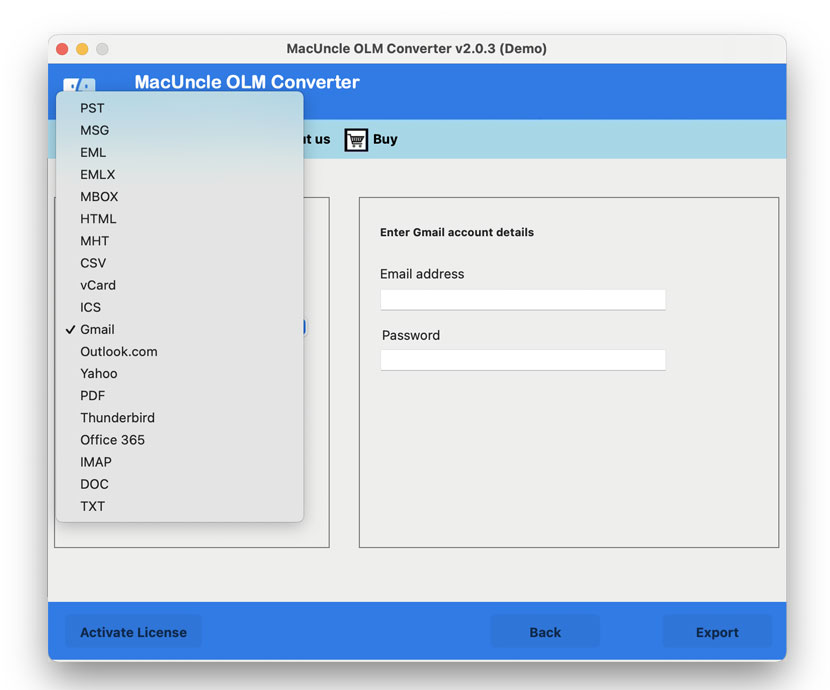
- Then, choose the IMAP option and enter account credentials, IMAP Port and IMAP host.
- Step 4: Hit the Export button to initiate the live process.
Note: With the IMAP saving option, you may also import OLM files to Airmail.
In a few minutes, the tool notifies the user with some trial version messages and the successful completion of the process.
Why Choose the Automated Method?
One must feel why to get the software to transfer emails from one place to another. Let’s see what the above-mentioned tool can do while moving OLM files to Exchange:
- Import any type of data: Since we are dealing with email files, the files might contain email messages to the contact list. Thus, the tool does not ask for any particular type of data. All OLM files can be migrated to the MS Exchange server.
- No Need for Technical Skills: The steps can be performed by any user with or without technical expertise.
- Direct migration of Outlook Mac Files: The most important feature is the direct migration of email files. Regardless of the file size, the user can import the emails to the Exchange Server.
Also, find out that the solution for Outlook Could Not Connect to Exchange Server
Conclusion
To conclude, there is no simple manual method to import OLM to Exchange Server 2019, 2016, etc. We recommend the reader use the application given here to transfer the Mac Outlook data for the straight migration of emails. First, test the demo version and then get the professional version to move the email to MS Exchange.