Why Is Mac Storage Still Full Even After Deleting Files?


Deleted some of your Mac files in a bid to declutter it, but it still seems cluttered. You deleted the files, feeling certain that your Mac storage would be reduced, but it continues to cling to files! Read to find out why your Mac storage is still full after deleting files!
The real issue isn’t the visible clutter — it’s the hidden clutter you’re not seeing.
In case you’ve deleted files but your Mac still doesn’t show any free space, you need to know that files aren’t always deleted permanently. We’ll tell you in this article why it is so. We provide some possible manual solutions and also mention one professional method that might be able to wipe your Mac fully.
KEY TAKEAWAYS
- Deleted files might not be deleted, just removed from the cache/Trash/backup.
- System data & hidden files take up a lot of space.
- Moreover, the backups from Time Machine conveniently consumed the disk space without any clue.
- Manually intervening to clean up works occasionally, but time-consuming and often frustrating.
- In professional software, the cleaner goes deeper & the wipe is faster.
Why Is Mac Storage Still Full After Deleting Files?
There are certain hidden causes behind this problem. Such an issue arises in the following scenarios:
- Files are deleted, but the storage bar does not change.
- Trash has not been emptied properly and still contains deleted files.
- Your system storage has increased all of a sudden.
- System cache, logs, and temporary files keep on growing enormously.
- Time Machine local snapshots store backup(s) that consume hidden spaces.
- Large applications leave leftover data even after deletions.
- Duplicate files exist.
- Some of the hidden system files aren’t visible, but they are still there.
Check out the article here to find the hidden system files: How to View Hidden Files on Mac?
Manually Fix “Mac Storage Still Full After Deleting”
Are you wondering why Mac is still full after deleting files? You can manually troubleshoot the issue through some tried & tested workarounds.
Below are some of the best ways that can come in handy in freeing up Mac storage.
- Relocate bulky data files (like images and movies).
- Remove media you probably won’t watch again
- Regularly cleaning the download folder is required.
- Clean out spam and discarded mail.
- Delete older iPhone and iPad backups.
- Uninstall all those apps that are not needed any further.
- Clean up old accounts and erase their contents.
- Inspect the users folder for some additional overlooked files.
- Make the most of compressed files rather than removing them all.
- Always be sure to clean up the Trash, so that free space may be regained.
Quick Solution: If nothing above worked, try the expert tool that permanently erases files by overwriting them using secure wiping methods. Go to the Professional Approach.
1. Use the Storage Tab to Free Space
When the storage of your Mac is full, even after deleting files, try checking and clearing the storage.
Try clearing the storage by using the built-in storage cleaner of Mac.
Follow these simple steps to save your space:
- Click on the Apple logo in the top-left corner of your Mac.
- In the drop-down menu, select About this Mac.
- Now, click on the Storage tab. This will prompt Mac to analyse how much GB or MB space is occupied.
- After completing the analysis, Mac categorises files into several types.
- Now, click on the Manage… button.
- From Storage management. Choose the following option:
- Optimise Storage: Remove old files, unnecessary files and old attachments.
- Reduce clutter: View and delete unused files and save Mac Storage.
- Empty Trash Automatically: Deleting old files that are in the trash after 30 days automatically.
- Pick one of the options and perform actions to optimise storage.
Note: You can select the option of Store in iCloud & make use of iCloud storage for saving files. You need to pay extra storage fees if your data goes beyond the 5 GB limit.
If you notice unusually high System Data usage, check our detailed guide on how to clear System Data on Mac.
2. Restart Your Mac in Safe Mode
Restarting your Mac in Safe Mode can be a good option if you delete files in your Mac but fail to recognise and free the storage space. This method may be time-consuming. However, it thoroughly diagnoses and fixes any random errors. It automatically removes cached data and helps to delete files or applications from the Mac. Follow the given steps to restart your Mac in Safe Mode:
- Open the Apple Menu.
- Click on Shut Down.
- Quickly press & hold the Shift key.
- Try holding the Shift key till you see the Apple logo on the screen, and then release the key, and then wait for a few seconds. (Note: This boot process might take some time.)
- As the login screen appears, check on the top-right of your Mac if Safe Boot is written in red.
- Thus, Safe Mode turns on, and it can fix the errors which were encountered earlier, during booting.
- Thus, log in to your Mac and check the disk space. You will see that more storage space is now available than previously.
- By using this Safe mode, you can even clear other unwanted stuff from the Mac.
- Finally, restart your system and then boot again normally.
3. Try Running First Aid in macOS Recovery Mode
If the earlier ways do not solve your issue of Mac storage full after deleting files, then follow the steps given below:
- Restart your Mac.
- Quickly press & hold the Command + R keys to enter the macOS Recovery Mode.
- Once you see the Apple logo, you can now release the keys > and then open the macOS Utilities.
- Here, you have to select Disk Utility.
- Now, you need to click Continue.
- Next, select Macintosh HD in the sidebar, and then select First Aid.
- Further, click Run to start the storage drive repair process.
This process checks & fixes errors on the hard drive. Running Disk Utility cleans up the space & also enhances the system’s performance.
4. Check Time Machine Backups
You Can Disable Time Machine & disconnect the Backup Disk as a fix for Mac storage still full after deleting files.
Time Machine forms hourly local snapshots, which tend to use storage even when you delete files. Such snapshots are counted as “available” space, but they are taking up actual usage, which makes it appear like storage space is not freeing up. Temporarily, if you turn off Time Machine & disconnect the backup drive, it could help in removing such snapshots & free up some space.
- Open the Apple menu > Time Machine. (Or you can also click the Time Machine icon, which is there at the top Apple menu bar, and after that, select Open Time Machine Preferences – either way you prefer).
- Now, you need to uncheck Back Up Automatically.
- Further, you have to eject your Time Machine backup disk.
Shortcomings of Manual Workarounds
Even after manual cleaning, storage may still appear full because of the following insufficiencies encountered while performing any manual steps:
- For your knowledge, system files are mostly protected & hidden.
- App leftovers files remain even after uninstalling.
- You will find it difficult to detect hidden files, duplicate files & deep junk files.
- Such manual cleaning methods usually miss deep-level data.
- Some manual operations, like Time Machine, require command-line knowledge.
- There are plenty of risks with such ways if you do them incorrectly.
- Manual steps require you to have technical know-how.
- There is a risk of important files getting deleted.
- There is literally no such guarantee of full cleaning.
5. Professional Wiping Method to Fix “Mac Storage Still Full After Deleting”
You tried certain manual workarounds, but Mac storage is still full after deleting! Then, this automated tool, i.e. Data Wipe Tool, is your pick now! It will help in removing hidden & stubborn data fully. Designed to perfection, this software will permanently delete unnecessary clutter, including unwanted files, obsolete system junk, waste cache, & other such no-longer-in-use leftovers.
Simple 5-Step Process Will Have You Sorted!
Using this tool is not just easy but also straightforward and quick.
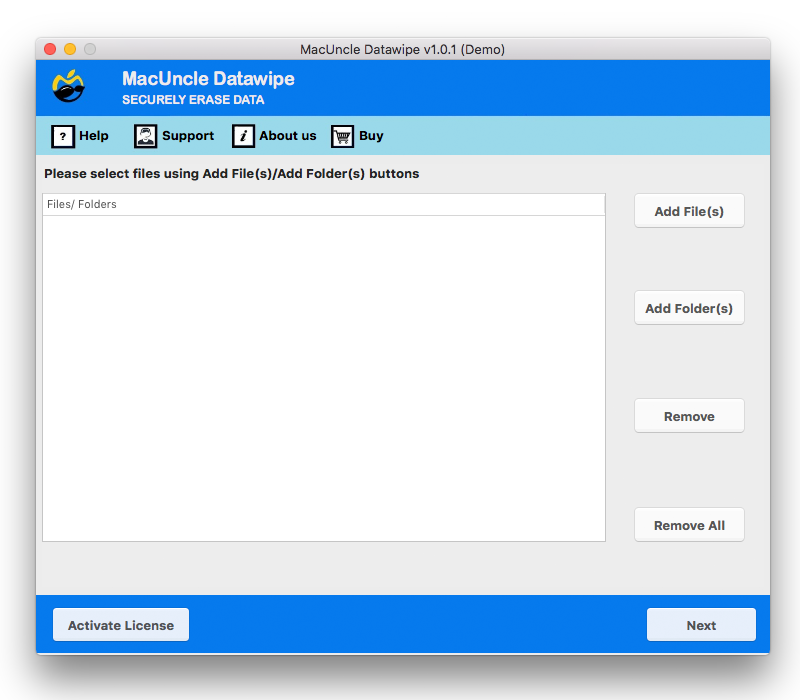
- Launch the software on your Mac.

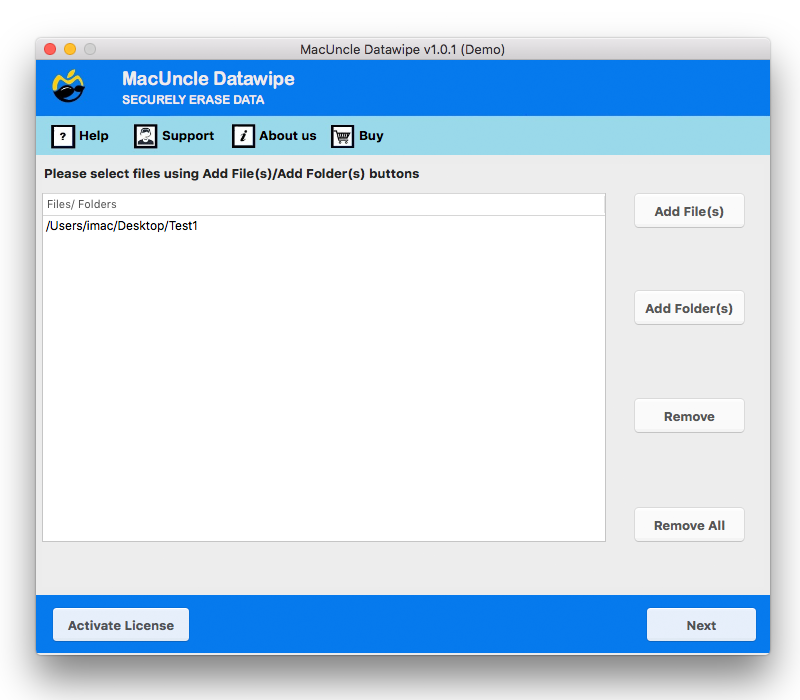
- Then, proceed by adding file(s)/folder(s) with the help of the Add button.
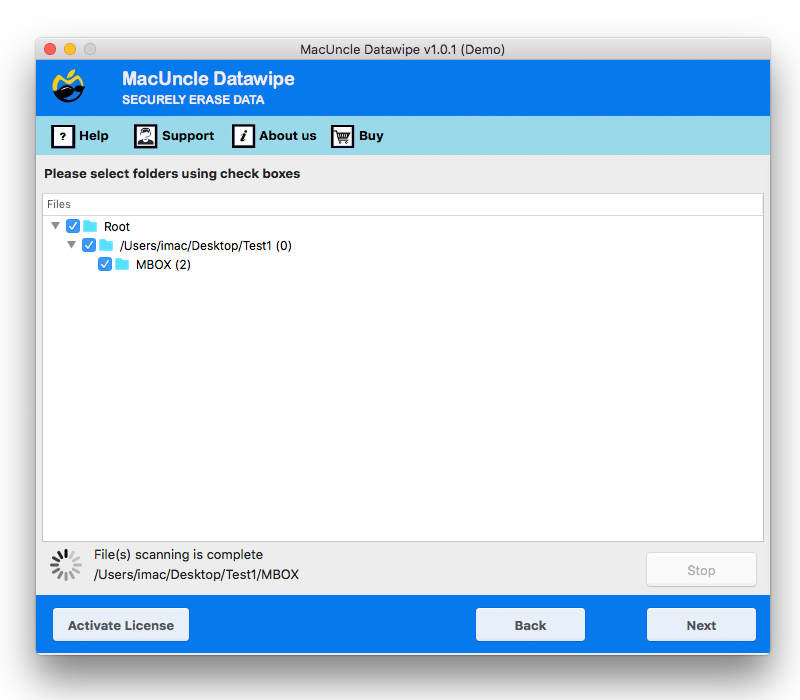
- Choose any folder and/or subfolder for further moving. And after that, press the Next button.
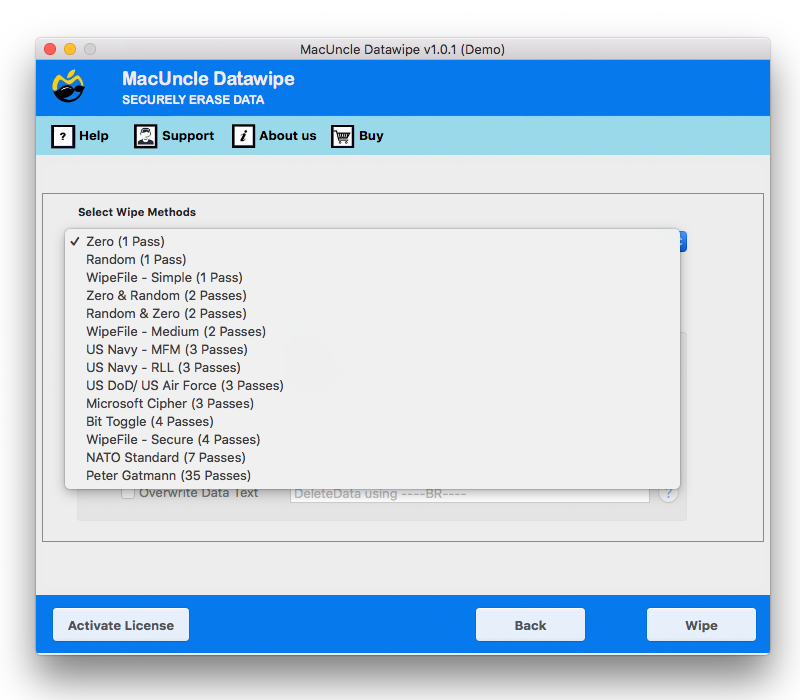
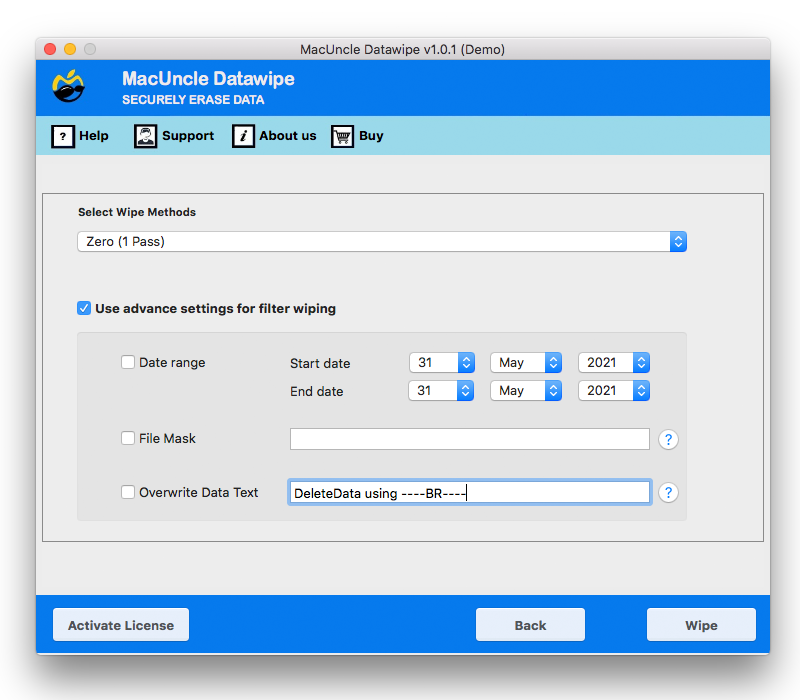
- You can select any option from the Select Wipe Method.
- Lastly, set up the required field in the Use Advanced Settings for the purpose of Filter Wiping.
- Click Wipe to move ahead with the process.
FAQ
Q) My storage on the Mac is still occupied after having deleted files. What could be the reasons behind it?
A) The files could still be hidden in cache, Trash, as well as some large files such as backups, including Time Machine copies.
Q) How could I solve the “storage full” issue after erasing files?
A) You could start with emptying trash, junk from cache, eliminating obsolete backups, and if the problem isn’t solved after all these steps, then try out with a specialised erasing tool for thorough cleaning.
Q) Why does the storage of my Mac’s hard disk remain full after having erased records?
A) You may have documents stored in trash, system caches, or perhaps in unseen backup records such as Time Machine backups. Attempt with manual methods or a tool that wipes files irretrievably.
Concluding Words
You were wondering why Mac storage is still full after deleting files, and you got the answers here. It is evident that manual workarounds aren’t foolproof, so the professional tool stands as the best choice here for completely clean & well-optimised Mac storage